Ingredients
Equipment
Method
- Step 1: Gather and Chill All the Ingredients. Before beginning your homemade Pumpkin Cold Foam Recipe, gather the heavy whipping cream, whole milk, pure pumpkin purée, maple syrup, vanilla extract, pumpkin pie spice, and fine sea salt. For the lightest and fluffiest texture, make sure the cream, milk, and pumpkin purée are thoroughly chilled before mixing, because cold ingredients help the cream aerate more effectively and maintain its structure. Measure everything accurately using measuring cups and spoons, paying particular attention to the pumpkin purée because adding too much can make the finished foam thick, heavy, and difficult to pour. Prepare a tall, narrow mixing cup or frothing pitcher with enough room for the mixture to expand as air is incorporated. If your kitchen is particularly warm, refrigerate the mixing container briefly before use. Having all the ingredients ready makes the process quick and helps prevent the dairy from warming unnecessarily while you prepare the drink.
- Step 2: Measure and Prepare the Pumpkin Purée. Place 2 tablespoons (30 g) of chilled, 100% pure pumpkin purée into a small bowl and stir until completely smooth, breaking apart any thick clumps with a spoon or small whisk. Use plain pumpkin purée rather than pumpkin pie filling because pie filling typically contains added sugar and spices that can interfere with the recipe's intended flavor balance. If your pumpkin purée appears unusually watery, stir it thoroughly and drain excess liquid if necessary, since additional moisture can make cold foam less stable. The pumpkin should have a smooth, spoonable consistency without large fibrous pieces that might interfere with the handheld frother. Its natural orange color and mildly earthy flavor provide the distinctive character of this homemade pumpkin cream topping. Avoid increasing the pumpkin quantity significantly without adjusting the dairy, as excessive pumpkin solids can prevent the mixture from becoming light and fluffy.
- Step 3: Combine the Heavy Cream and Whole Milk. Pour the thoroughly chilled 1/2 cup (120 ml) of heavy whipping cream into a tall mixing cup, then add the 1/4 cup (60 ml) of cold whole milk and stir gently to combine. This approximately two-to-one ratio of cream to milk creates a useful starting point for pumpkin cold foam because the cream provides the richness and fat needed for a soft, airy texture, while the milk helps the mixture remain smooth and pourable rather than becoming thick like traditional whipped cream. Use a container large enough to accommodate the mixture as it increases in volume during frothing, ideally leaving at least half the container empty before beginning. Keep the dairy mixture cold while preparing the remaining ingredients, and avoid warming or heating it because this recipe is designed to be prepared entirely without cooking. The finished liquid should look smooth and uniform, providing a creamy base for the pumpkin and autumn spices.
- Step 4: Add the Pumpkin, Maple Syrup, Vanilla, and Spices. Add the prepared pumpkin purée to the chilled cream-and-milk mixture, followed by 1 1/2 tablespoons (22 ml) of pure maple syrup, 1/2 teaspoon (2.5 ml) of vanilla extract, 1/4 teaspoon of pumpkin pie spice, and a tiny pinch of fine sea salt. Stir gently but thoroughly using a small whisk or spoon until the pumpkin is evenly incorporated and the mixture develops a light orange color without visible clumps or streaks. The maple syrup provides a delicate sweetness that complements the earthy pumpkin, while vanilla adds a warm, familiar aroma. Pumpkin pie spice introduces the comforting flavors of cinnamon, ginger, nutmeg, and other seasonal spices, and the small amount of salt helps balance the overall sweetness. Taste a tiny spoonful of the liquid mixture and adjust the sweetener or spice only if necessary, keeping in mind that the finished foam should complement coffee rather than overwhelm it.
- Step 5: Create a Smooth Pumpkin Cream Base. Before frothing, whisk the pumpkin cream mixture for approximately 20–30 seconds to ensure that the dairy, pumpkin purée, sweetener, vanilla, and spices are evenly blended. Pay special attention to the bottom of the container, where thicker pumpkin solids may settle before they are fully incorporated. The mixture should appear smooth, lightly orange, and free from large pieces of pumpkin or visible clumps of spice. If the pumpkin purée was particularly thick or fibrous, pass the liquid mixture through a fine-mesh strainer to remove unwanted solids, then return it to the frothing container. This step is important because an evenly blended base develops a more consistent foam, while concentrated pumpkin solids can make the topping heavy or cause uneven frothing. Avoid adding extra liquid unless absolutely necessary, because the measured cream-to-milk ratio is intended to provide a balance between richness and pourability.
- Step 6: Froth the Pumpkin Cream Until Light and Fluffy. Insert a handheld electric milk frother into the chilled pumpkin cream mixture, keeping the whisk head submerged initially to prevent splashing, then switch it on and move it gently through the liquid to incorporate air. Continue frothing for approximately 30–90 seconds, depending on your frother's power, until the mixture becomes noticeably lighter in color, slightly thicker, and visibly more voluminous. Move the frother gradually toward the surface as the mixture expands, but avoid lifting it completely out of the liquid while the motor is running. The goal is to create a soft, velvety, creamy foam that forms a gentle layer over iced coffee while remaining easy to pour. Stop as soon as the desired texture develops, because prolonged frothing can produce an overly thick whipped-cream consistency or cause the mixture to lose the delicate texture associated with traditional cold foam. If using an electric mixer instead, begin on low speed and increase gradually while monitoring the consistency.
- Step 7: Check and Adjust the Cold Foam Consistency. Once the pumpkin cream becomes light and fluffy, switch off the frother and lift a small amount of the mixture with a spoon to evaluate its consistency. Properly prepared pumpkin cold foam should briefly coat the spoon, flow slowly when poured, and remain soft enough to spread naturally over a chilled beverage without forming stiff peaks. If the foam appears too thin, make sure the mixture is still cold and continue frothing briefly, stopping as soon as it becomes more voluminous and creamy. If it has become too thick or resembles whipped cream, gently stir in approximately 1 teaspoon of cold milk at a time until it reaches a smoother, more pourable consistency. Avoid adding large amounts of milk because this can weaken the foam and cause it to separate quickly. The ideal texture is silky, airy, and lightly sweetened, with an attractive pale orange color and a delicate pumpkin spice aroma.
- Step 8: Prepare the Iced Coffee or Cold Brew. If serving the pumpkin cold foam over iced coffee, divide approximately 2 cups of ice cubes among four tall serving glasses, then pour about 3/4 cup (180 ml) of thoroughly chilled unsweetened cold brew into each glass. Leave enough space near the top for a generous layer of pumpkin foam, ideally at least 1–2 inches depending on the glass size. Using cold coffee is important because the foam is designed to rest briefly over a chilled beverage rather than dissolve immediately into hot liquid. Unsweetened cold brew provides a pleasant contrast to the creamy, lightly sweet pumpkin topping, but you can substitute chilled espresso, an iced latte, or iced chai according to your preference. If serving a drink that already contains flavored syrup, consider adjusting the sweetness of the foam so the final beverage does not become excessively sweet. Arrange the prepared glasses on a stable serving surface before adding the foam.
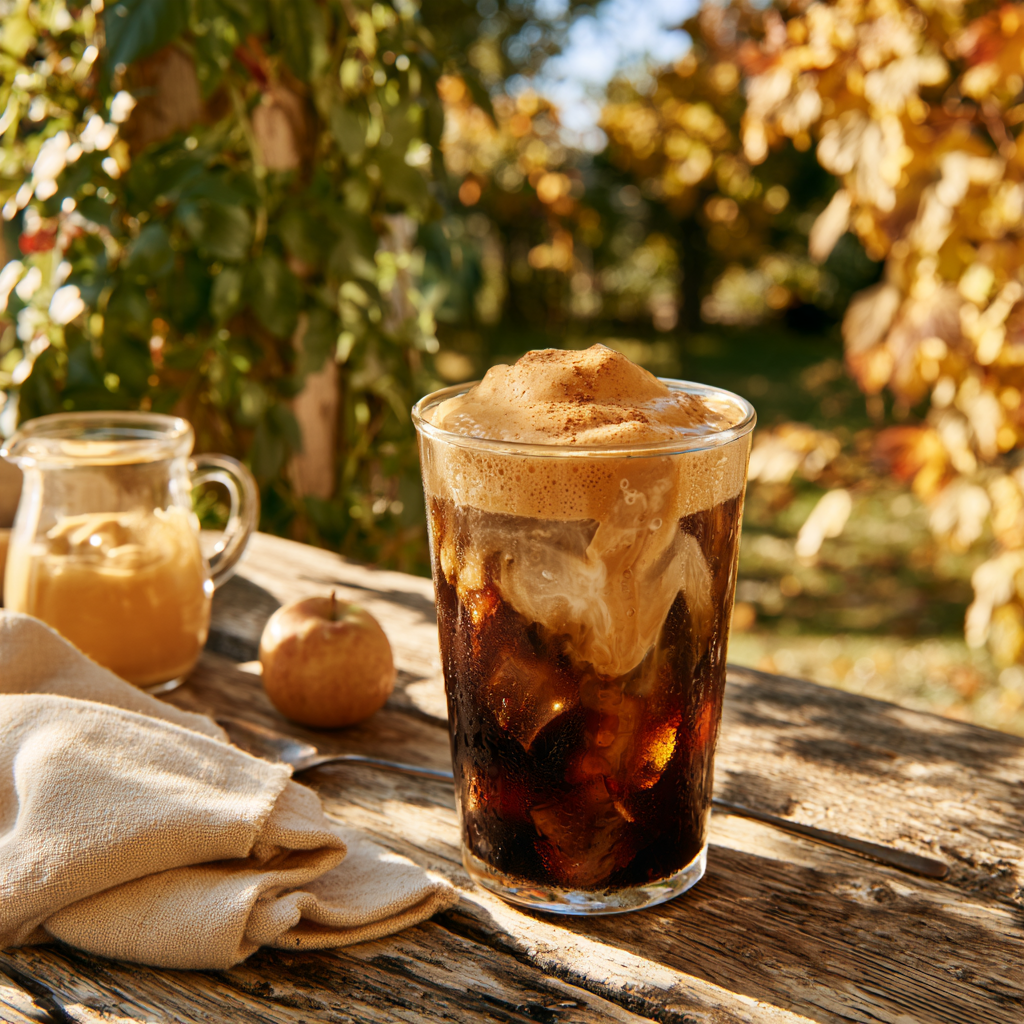
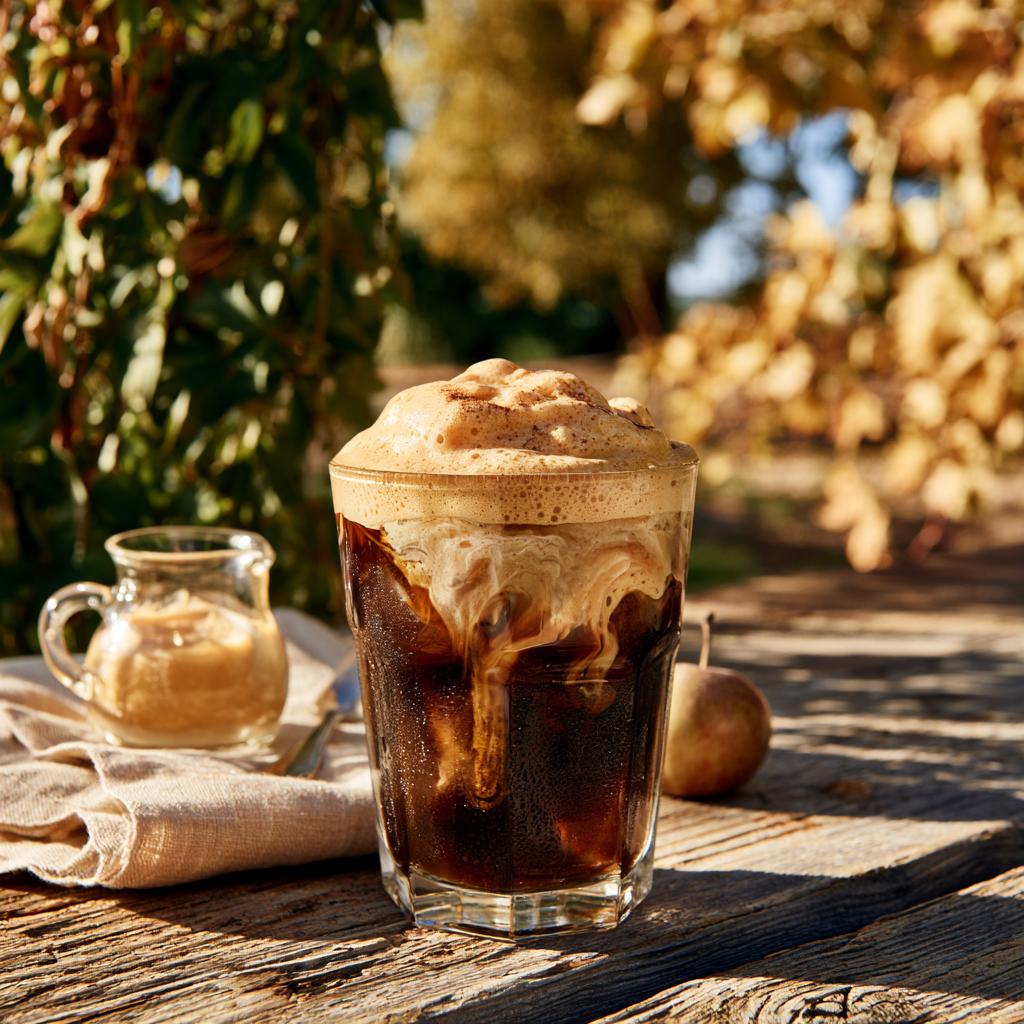
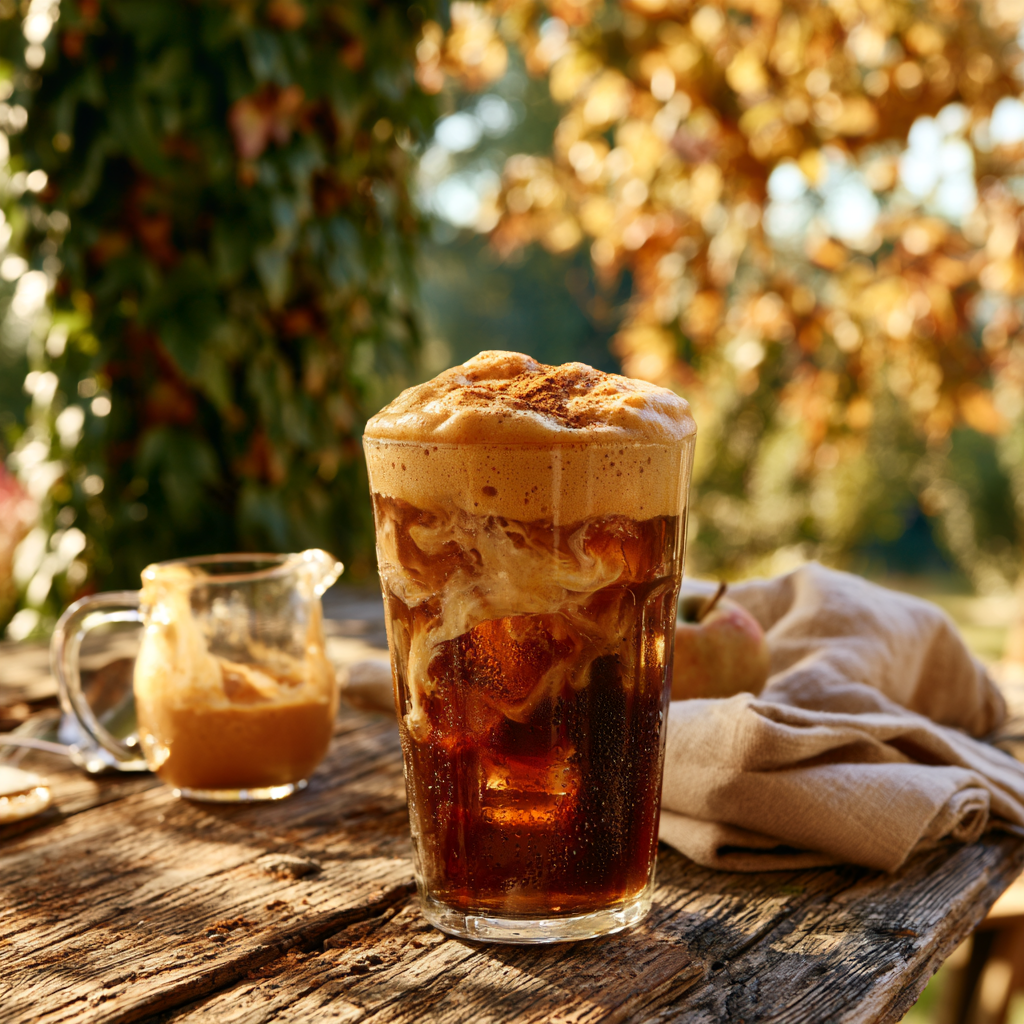
- Step 9: Pour the Pumpkin Cold Foam Over the Coffee. Immediately after frothing, divide the freshly prepared pumpkin cold foam evenly among the four prepared glasses, pouring it slowly over the surface of each chilled drink so it forms a soft, creamy layer above the darker coffee. For the most attractive presentation, tilt the frothing pitcher slightly and pour the foam gently toward the center of the glass, allowing it to spread naturally toward the edges. Because the mixture expands when aerated, each serving will occupy more space than its original approximately 1/4 cup (60 ml) portion of liquid base. The topping should rest briefly over the coffee before gradually blending into the drink, creating a beautiful layered appearance and delivering the creamy pumpkin flavor with each sip. Avoid stirring immediately if you want to preserve the distinct contrast between the cold coffee and the fluffy pumpkin cream. Serve as soon as possible because freshly prepared foam gradually loses its airy structure.
- Step 10: Garnish and Serve the Homemade Pumpkin Cold Foam Drinks. Finish each serving with a very light sprinkle of pumpkin pie spice or ground cinnamon, using only enough to create a delicate autumn aroma without leaving a thick layer of dry spice on top of the foam. For a coffee-shop-inspired presentation, serve the drinks in clear glasses so the contrast between the dark cold brew and pale orange pumpkin topping remains visible. Enjoy the drink immediately, allowing the rich coffee and sweet pumpkin cream to combine naturally with each sip. The foam can also be served over an iced chai latte, chilled espresso, or another suitable beverage, making it a versatile addition to seasonal drink recipes. For a cozy fall breakfast or afternoon treat, pair the finished drink with pumpkin bread, spiced muffins, or a simple homemade pastry. The ideal finished beverage should be creamy, lightly sweet, beautifully aromatic, and refreshing rather than overly thick or sugary.
- Step 11: Store Any Leftover Pumpkin Cold Foam Mixture Properly. If you have leftover unfrothed pumpkin cream base, transfer it immediately to a clean, airtight glass container and refrigerate at 40°F (4°C) or below, using it within approximately 1–2 days for the best quality and respecting the expiration dates of the individual ingredients. Because pumpkin solids and dairy components can naturally settle during refrigeration, stir or shake the container thoroughly before preparing another serving, then froth the desired portion just before adding it to a chilled drink. Already-frothed cold foam will gradually collapse and may separate during storage, so keeping the liquid base unfrothed is preferable when preparing the recipe in advance. Avoid leaving the dairy-based mixture at room temperature for more than two hours, or more than one hour when temperatures exceed 90°F (32°C). Freezing is not recommended because thawing may cause separation and negatively affect the foam's smooth consistency.
- Step 12: Enjoy and Customize Your Pumpkin Cold Foam Recipe. Once you've mastered the classic preparation, experiment with small adjustments to create different homemade pumpkin cold foam variations while preserving the same basic technique. For a sweeter coffee-shop-style topping, replace the maple syrup with vanilla syrup; for a slightly lighter version, try reducing the sweetener or replacing a small portion of the heavy cream with additional milk. To create a stronger pumpkin spice flavor, add a tiny pinch of cinnamon or ginger, taking care not to overwhelm the natural flavor of the pumpkin purée. You can also experiment with suitable plant-based whipping products and barista-style milk for a dairy-free alternative, although the stability and thickness may differ from the original recipe. Whatever variation you choose, always begin with chilled ingredients, froth only until the mixture becomes creamy and pourable, and serve immediately over your favorite cold beverage for the most delicious homemade pumpkin cold foam experience.
Notes
For the best homemade pumpkin cold foam, use thoroughly chilled heavy whipping cream and whole milk. Cold dairy ingredients help create a smooth, fluffy topping and improve the stability of the finished foam.
Use 100% pure pumpkin purée rather than pumpkin pie filling. Plain pumpkin purée provides authentic pumpkin flavor and natural orange color without the additional sweeteners and spices found in most pumpkin pie fillings.
If using homemade pumpkin purée, make sure it is completely smooth, well-drained, and cold before incorporating it into the dairy mixture. Excess water and large fibrous pieces may interfere with frothing.
A useful starting ratio is two parts heavy whipping cream to one part whole milk. This creates a rich, creamy base that can develop a fluffy texture while remaining more pourable than traditional whipped cream.
Avoid adding excessive pumpkin purée. A small amount provides plenty of seasonal flavor, while too much can create a heavy mixture that is difficult to aerate and may separate more quickly.
A handheld electric milk frother is a convenient tool for creating pumpkin cold foam. Use a tall, narrow container to minimize splashing and allow enough space for the mixture to expand during frothing.
Do not overwhip the pumpkin cream. Stop when it becomes light, airy, slightly thickened, and gently pourable. Frothing for too long may create stiff whipped cream rather than the soft texture of cold foam.
If the pumpkin cold foam is too thin, check that your ingredients are cold and that your mixture contains enough heavy cream. Refrigerate briefly if necessary, then froth again until the desired consistency develops.
If the foam is too thick, gently stir in cold whole milk 1 teaspoon at a time until it becomes smooth and pourable. Avoid adding large quantities of milk because the topping may lose its fluffy structure.
Use pure maple syrup for gentle sweetness and a subtle caramel-like flavor that complements real pumpkin and warm spices. Maple syrup also blends easily into cold dairy ingredients.
For a classic coffee-shop-style flavor, replace the maple syrup with an equal volume of vanilla syrup. Adjust the quantity according to the sweetness of the syrup and your personal preference.
For a less sweet pumpkin cold foam, reduce the maple syrup from 1 1/2 tablespoons to approximately 1 tablespoon. Taste before frothing and add more only if needed.
For a stronger pumpkin spice flavor, add a tiny extra pinch of cinnamon or ginger. Use spices sparingly because excessive amounts can overpower the natural pumpkin flavor and create a powdery texture.
If you do not have pumpkin pie spice, combine a small amount of ground cinnamon with tiny pinches of ginger, nutmeg, and cloves. Adjust the seasoning gradually to avoid making the foam excessively spicy.
Pure vanilla extract adds a warm, sweet aroma that complements pumpkin and maple syrup. Vanilla bean paste can also be used in an equivalent amount, although some varieties contain additional sugar.
The tiny pinch of fine sea salt helps balance the sweetness and enhances the overall pumpkin and vanilla flavor. Use only a small amount so the finished topping does not taste salty.
Chill your frothing container before preparing the foam if your kitchen is warm. A cold container helps keep the dairy mixture cool during the aeration process.
For the smoothest consistency, stir the pumpkin purée thoroughly before combining it with the cream. If the purée contains coarse fibers, strain the mixture before frothing.
An electric hand mixer can replace a handheld milk frother. Begin on low speed and gradually increase until the pumpkin cream becomes light, fluffy, and pourable.
A small blender suitable for cold dairy mixtures may also work, but monitor the texture carefully because aggressive blending can warm the mixture or create an inconsistent foam.
A manual whisk can aerate the pumpkin cream when an electric frother is unavailable, although it generally requires more effort and time to achieve a noticeable increase in volume.
For the best layered presentation, pour freshly frothed pumpkin cream slowly over chilled coffee. The foam should create a soft layer that rests briefly on the drink before gradually blending into the liquid.
Unsweetened cold brew is an excellent base because its bold coffee flavor contrasts beautifully with the sweet pumpkin cream. This also lets you concentrate the added sweetness in the foam rather than the entire beverage.
Pumpkin cold foam is also delicious over iced espresso, iced lattes, iced chai, or decaffeinated iced coffee. Adjust the sweetness depending on the beverage underneath.
For a refreshing iced chai variation, pour the pumpkin cold foam over chilled chai and milk. The warming spices in chai complement the pumpkin, vanilla, cinnamon, and nutmeg beautifully.
For an iced matcha variation, spoon a modest amount of freshly frothed pumpkin cream over cold matcha with ice. The earthy matcha flavor provides a different contrast to the sweet pumpkin topping.
For a dairy-free variation, use an appropriate plant-based whipping cream and compatible milk alternative such as barista-style oat milk or soy milk. Texture and foam stability vary depending on the products used.
For a vegan pumpkin cold foam, make sure every ingredient is plant-derived, including the whipping cream, milk, sweetener, and flavored additions. Always verify packaged ingredient labels.
For a lighter cold foam, experiment with replacing a small portion of the heavy cream with additional milk. This reduces richness, but the foam may become thinner and less stable.
Pumpkin cold foam contains some beta-carotene from real pumpkin, but the amount of pumpkin in each serving is small. Treat the finished topping as a flavorful seasonal addition rather than a substantial source of vegetable nutrition.
Maple syrup, honey, and conventional flavored syrups all contribute added sugar. For a lower-sugar preparation, reduce the quantity of sweetener rather than assuming one syrup is automatically healthier than another.
The pumpkin cold foam mixture itself is generally caffeine-free when prepared from the listed ingredients. However, cold brew, espresso, matcha, and many chai beverages contain caffeine.
For a caffeine-free serving option, pour freshly made pumpkin cold foam over a suitable caffeine-free chilled beverage. Decaffeinated coffee can also be used when a very low-caffeine option is acceptable.
Make Ahead: Combine the liquid ingredients in advance and refrigerate the mixture in a clean, airtight container. Stir or shake thoroughly and froth individual portions immediately before serving for the best texture.
Storage: Refrigerate the prepared pumpkin cream base promptly at 40°F (4°C) or below. For the best quality, use within approximately 1–2 days, while also respecting the expiration dates of the dairy ingredients.
Do not leave the dairy-based pumpkin mixture at room temperature for more than 2 hours, or more than 1 hour when the temperature exceeds 90°F (32°C). Refrigerate promptly after preparation.
Already-frothed pumpkin cold foam gradually loses its airy structure during storage. For this reason, refrigerating the liquid base and frothing only what you need is preferable to storing fully whipped foam.
Freezing pumpkin cold foam is not recommended because the dairy mixture may separate after thawing and may no longer produce a smooth, fluffy topping.
For a smaller batch, divide all ingredients in half to make approximately 2 servings. Use a narrow frothing container so the frother head can remain properly submerged in the smaller volume.
For a larger fall brunch, double the ingredients to make approximately 8 servings. Prepare the cold liquid base in advance, then froth in smaller batches immediately before serving for a more consistent texture.
Serve homemade pumpkin cold foam coffee with a slice of pumpkin bread, spiced muffins, or a favorite fall pastry. The creamy vanilla and pumpkin spice flavors pair especially well with cinnamon, brown sugar, and chocolate.
For an attractive presentation, use a clear glass filled with ice and chilled coffee. Pour the foam gently over the surface, then finish with a very light dusting of pumpkin pie spice.
Avoid using hot coffee as the base for traditional cold foam. Heat can cause the airy topping to collapse more quickly, reducing the layered appearance and changing its texture.
OoohDelish Coffee Shop Secret: The key to beautifully creamy pumpkin cold foam is using cold ingredients, a balanced two-to-one ratio of heavy cream to milk, real pumpkin purée, and careful frothing. Stop when the mixture becomes airy and pourable, then serve immediately over chilled coffee for a smooth, velvety autumn topping.