Ingredients
Equipment
Method
- Step 1: Prepare Your Ingredients and Baking Equipment. Before mixing the cookie dough, measure all ingredients carefully and allow the unsalted butter to soften to a cool room temperature, ideally around 65–68°F (18–20°C). The butter should yield slightly when pressed with your finger but should not look shiny, greasy, or partially melted. Bring the whole egg and additional egg yolk to room temperature so they blend smoothly into the mixture. Line two baking sheets with parchment paper and prepare a large mixing bowl, medium mixing bowl, electric mixer, and cookie scoop. Do not preheat the oven yet, because the dough will need to chill before baking.
- Step 2: Combine the Dry Ingredients. In a medium mixing bowl, add 2¾ cups (344 g) of all-purpose flour, 1 teaspoon of baking powder, ½ teaspoon of baking soda, and ½ teaspoon of fine salt. Whisk thoroughly for approximately 30 seconds to distribute the leavening agents and salt evenly throughout the flour. This step helps the cookies bake consistently and prevents concentrated pockets of baking powder or baking soda. For the most accurate results, weigh the flour using a digital scale. If measuring with cups, spoon the flour into the measuring cup and level the surface without packing it down, since excess flour can make the cookies dry, heavy, or crumbly.
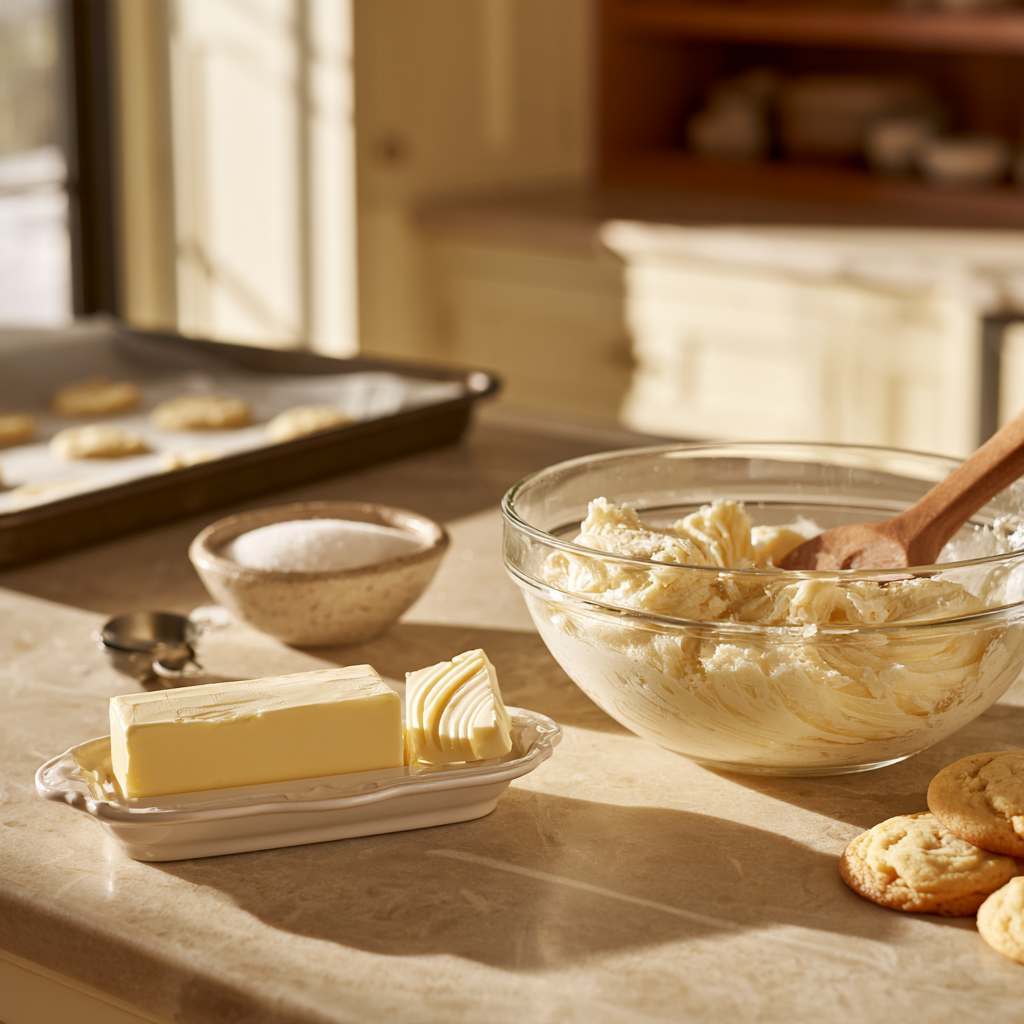
- Step 3: Cream the Unsalted Butter and Sugar. Place 1 cup (226 g) of softened unsalted butter and 1½ cups (300 g) of granulated sugar into a large mixing bowl. Using an electric hand mixer or stand mixer fitted with the paddle attachment, beat the ingredients on medium speed for approximately 2–3 minutes until the mixture looks lighter in color, creamy, and slightly fluffy. Stop once or twice to scrape the sides and bottom of the bowl with a rubber spatula, ensuring that the butter and sugar are evenly incorporated. Proper creaming helps establish a tender cookie texture, but avoid excessive whipping, which can introduce too much air and encourage unwanted puffing or uneven spreading during baking.
- Step 4: Add the Egg, Egg Yolk, and Vanilla Extract. Add 1 large room-temperature egg, 1 additional egg yolk, and 2 teaspoons of pure vanilla extract to the creamed butter and sugar mixture. Beat on low to medium speed for approximately 30–60 seconds, just until the ingredients are smoothly combined. Scrape down the sides and bottom of the bowl to incorporate any remaining butter mixture. The additional egg yolk contributes richness and tenderness, while the vanilla extract enhances the naturally sweet, buttery flavor of the cookies. If the mixture initially appears slightly separated, continue mixing briefly until it becomes reasonably uniform, but avoid overbeating once the eggs have been incorporated.
- Step 5: Incorporate the Dry Ingredients and Form the Dough. Add the prepared flour mixture to the wet ingredients in two additions, mixing on low speed after each addition until the flour is almost incorporated. Stop the mixer as soon as only a few small streaks of flour remain, then use a rubber spatula to gently fold the dough together until no dry flour is visible. The finished dough should be soft, thick, and slightly tacky without being runny or excessively sticky. Avoid prolonged mixing because excessive gluten development can make the cookies tougher instead of tender. If the butter was properly softened and the ingredients were measured accurately, the dough should hold together easily without needing extra flour.
- Step 6: Portion and Shape the Sugar Cookies. Using a 1½-tablespoon cookie scoop or a kitchen scale, divide the dough into approximately 24 portions of about 38–40 g each. Roll every portion gently between your palms to create a smooth, round ball without compacting the dough excessively. For an optional lightly crisp, sparkling exterior, place ¼ cup (50 g) of granulated sugar in a shallow bowl and roll each dough ball in the sugar until evenly coated. Arrange the cookie dough balls on a parchment-lined baking sheet or tray, leaving some space between them. Keep the dough balls rounded rather than flattening them heavily, as their shape helps produce thicker cookies with soft centers.
- Step 7: Chill the Cookie Dough for Better Texture. Cover the portioned cookie dough loosely with plastic wrap or place it in a covered container, then refrigerate for at least 30 minutes. Chilling allows the butter to firm up and the flour to absorb moisture, helping the cookies maintain a thicker shape and reducing excessive spreading during baking. If your kitchen is particularly warm or the dough feels very soft, extend the chilling time to approximately 45–60 minutes. For longer preparation, the dough balls may be refrigerated overnight in an airtight container. If they become very firm, allow them to stand briefly at room temperature while preparing the oven, but keep them cool when they go into the oven.
- Step 8: Preheat the Oven and Arrange the Cookies. Near the end of the chilling period, preheat your oven to 350°F (175°C), using the conventional bake setting, and position an oven rack in the middle. Line a light-colored baking sheet with fresh parchment paper if necessary. Arrange the chilled dough balls approximately 2 inches (5 cm) apart, leaving enough space for moderate spreading. For even baking, place only one baking sheet on the center rack at a time whenever practical. Avoid placing cookie dough on a hot baking sheet because the butter may begin melting before the cookies enter the oven, increasing spreading and affecting the final texture.
- Step 9: Bake Until the Edges Are Lightly Golden. Place the baking sheet in the preheated oven and bake the sugar cookies for approximately 10–12 minutes, checking them closely beginning at 9 minutes. The cookies are ready when their edges look set and very lightly golden while the centers appear slightly soft and just set on the surface. They may look a little underdone in the middle, but they will continue firming as they cool on the hot baking sheet. Avoid waiting for the entire cookie to turn golden brown, since excessive baking can produce dry, crunchy cookies rather than the desired soft, tender centers. Baking times may vary with cookie size, oven calibration, and baking sheet material.
- Step 10: Cool the Cookies Without Drying Them Out. Remove the baking sheet from the oven and allow the sugar cookies to rest on the sheet for approximately 5 minutes. During this resting period, the residual heat helps the centers finish setting while the cookies become firm enough to move without breaking. Carefully transfer them to a wire cooling rack using a thin spatula and allow them to cool completely. The finished cookies should have lightly golden edges, soft centers, a gentle vanilla aroma, and a rich buttery flavor. Let the baking sheet cool before adding another batch of dough, and store any remaining chilled dough in the refrigerator while the first batch bakes.
- Step 11: Decorate and Serve Your Homemade Sugar Cookies. Once the cookies have cooled completely, serve them plain to enjoy their classic buttery vanilla flavor or decorate them with a simple powdered-sugar glaze, vanilla buttercream, or colorful sprinkles. For a quick glaze, combine powdered sugar with a little milk and vanilla extract, adjusting the consistency until it can be drizzled or spread easily. Allow any glaze to set before stacking the cookies. These soft sugar cookies are delicious alongside coffee, tea, or a cold glass of milk and make an excellent addition to holiday cookie platters, homemade gift boxes, birthdays, and family celebrations. For the freshest texture, serve them shortly after baking or store them correctly until needed.
Notes
1. Choose the Right Unsalted Butter
2. Pay Attention to Butter Temperature
3. Measure Flour Accurately
4. Do Not Skip Chilling
5. Avoid Overbaking for Soft Centers
6. Substitute Salted Butter When Necessary
7. Make the Cookies Ahead of Time
8. Store Finished Sugar Cookies Properly
9. Customize the Flavor
10. Understand the Shape of These Cookies
For the richest flavor and most consistent baking results, choose a good-quality unsalted butter containing approximately 80–82% milk fat. Real dairy butter delivers a more traditional sugar cookie flavor than many butter-flavored spreads. Avoid whipped butter or products with substantially different water and fat contents, since they can change the consistency of the dough and cause unexpected spreading.
The ideal butter for creaming should feel soft enough to press gently but should still hold its shape. Butter that is too cold will not cream efficiently with sugar, while melted or excessively warm butter can lead to flatter cookies. If your butter becomes too soft, refrigerate it briefly before beginning the recipe rather than adding extra flour to compensate.
Too much flour is one of the most common reasons homemade sugar cookies turn out dry or dense. For this recipe, use 344 g of all-purpose flour whenever possible. If you do not own a kitchen scale, fluff the flour, spoon it into the measuring cup, and level it with a straight edge. Never scoop flour directly from a tightly packed container if you want consistent results.
Refrigerating cookie dough for at least 30 minutes helps firm the butter and improve shape retention during baking. This is particularly helpful when preparing thick, soft sugar cookies in a warm kitchen. If your cookies spread excessively, check the butter temperature, baking sheet temperature, flour measurement, and chilling time before changing the recipe.
Remove the cookies when their edges are set and the centers look just baked, rather than waiting for the tops to become deeply golden. Sugar cookies continue cooking slightly on the hot baking sheet after leaving the oven. Allowing them to rest for 5 minutes before transferring them to a cooling rack helps preserve their tender centers without making them fragile.
If unsalted butter is unavailable, you can substitute the same amount of salted butter. Because different brands contain different amounts of salt, reduce the additional salt in this recipe or omit it initially if using a particularly salty butter. For predictable flavor and consistent results, unsalted butter remains the preferred choice.
For convenient advance preparation, portion the cookie dough into balls and place them in an airtight container in the refrigerator for up to 48 hours. For longer storage, freeze the portioned dough on a tray until solid, then transfer it to a freezer-safe bag for up to 2–3 months for best quality. Frozen dough can be baked directly from frozen, although it may need a few extra minutes in the oven.
Store completely cooled sugar cookies in an airtight container at room temperature for approximately 4–5 days, provided they have no perishable frosting or filling. Separate decorated layers with parchment paper to avoid sticking. For longer storage, freeze plain cookies in an airtight freezer-safe container for up to 2–3 months for best quality. Thaw at room temperature before serving.
Transform these classic sugar cookies by adding a little finely grated lemon zest, orange zest, almond extract, or warm baking spices. For almond-flavored sugar cookies, replace ½ teaspoon of the vanilla extract with almond extract. You can also roll the dough balls in colored sanding sugar before baking to create attractive holiday or birthday cookies without needing elaborate decorations.
This recipe produces soft, round, scoop-and-bake sugar cookies rather than firm, precision-cut decorated cookies. If you need sharp-edged cookie shapes for detailed royal icing designs, use a dedicated rolled sugar cookie recipe with an appropriate flour-to-butter ratio and rolling instructions. Avoid heavily flattening this dough, since it is designed to produce soft, thick cookies with tender centers.