Ingredients
Equipment
Method
- Step 1: Prepare and Measure All the Ingredients. Before beginning your homemade No Egg Cookies Recipe, gather all the ingredients and measure them carefully to ensure the dough develops the correct texture. Place the unsalted butter on the kitchen counter until it becomes softened but not melted; the butter should feel pliable when gently pressed while still holding its shape. Measure the light brown sugar, granulated sugar, whole milk, pure vanilla extract, all-purpose flour, cornstarch, baking soda, baking powder, and fine sea salt. For the most consistent results, weigh the flour using a digital kitchen scale rather than scooping directly into the container, as excessive flour can produce dry, crumbly cookies. If using optional chocolate chips or chopped nuts, measure them separately and keep them ready for mixing. Preparing everything before you begin makes the baking process easier and helps ensure the ingredients combine evenly without unnecessary delays.
- Step 2: Combine the Dry Ingredients. In a medium mixing bowl, add the all-purpose flour, cornstarch, baking soda, baking powder, and fine sea salt, then whisk thoroughly for approximately 30–45 seconds until all the dry ingredients are evenly distributed. The cornstarch contributes to a more delicate and tender cookie texture, while the baking soda and baking powder help influence the shape, spread, and structure of the finished cookies. Whisking these ingredients together before incorporating them into the butter mixture prevents concentrated pockets of baking soda or salt from developing in individual cookies. Check that the flour mixture is free from large lumps, breaking them apart with the whisk if necessary, then set the bowl aside temporarily. Avoid adding additional flour unless the finished dough genuinely requires adjustment, as the carefully measured balance of flour, butter, sugar, and milk is important for creating soft, chewy eggless cookies instead of overly dense or dry ones.
- Step 3: Cream the Butter, Brown Sugar, and Granulated Sugar. Place the softened unsalted butter, packed light brown sugar, and granulated sugar into a large mixing bowl, then beat them together using an electric hand mixer or stand mixer fitted with the paddle attachment for approximately 2–3 minutes at medium speed. Continue mixing until the ingredients become evenly combined, creamy, and slightly lighter in appearance, stopping occasionally to scrape down the sides and bottom of the bowl with a silicone spatula. The brown sugar contributes moisture and a subtle caramel-like flavor, while granulated sugar helps create lightly crisp edges during baking. Proper creaming also distributes the sugar throughout the softened butter and introduces a little air into the mixture, supporting a pleasant cookie texture. Avoid using melted butter, as it can make the dough excessively soft and encourage uncontrolled spreading in the oven. The finished mixture should look smooth and fluffy, with no large visible pieces of butter remaining.
- Step 4: Add the Milk and Vanilla Extract. Pour the room-temperature whole milk and pure vanilla extract into the creamed butter-and-sugar mixture, then mix on low speed until the liquids are distributed throughout the dough. Stop the mixer and scrape the sides of the bowl, ensuring no unmixed butter or sugar remains around the edges. Because this No Egg Cookies Recipe contains no eggs, the milk supplies some of the moisture needed to bring the dough together, while the vanilla adds the comforting bakery-style aroma that makes these homemade cookies so delicious. The mixture may look slightly uneven or separated immediately after adding the milk because the liquid and butter have different compositions; this is normal and should improve once the flour is incorporated. Avoid adding extra milk at this stage, as excessive liquid may affect the final consistency and cause the cookies to spread more than intended during baking.
- Step 5: Incorporate the Dry Ingredients and Form the Cookie Dough. Gradually add the prepared flour mixture to the butter, sugar, milk, and vanilla mixture in two or three additions, mixing on low speed after each addition until most of the flour disappears into the dough. Once the mixture begins coming together, switch to a silicone spatula and gently fold the remaining ingredients until a cohesive, soft cookie dough forms without visible pockets of dry flour. The dough should be thick enough to hold its shape when scooped, yet soft and slightly tacky rather than dry or crumbly. Avoid overmixing once the flour is incorporated, because excessive mixing can encourage gluten development and create tougher cookies. If a few dry crumbs remain, press them gently into the dough with the spatula before deciding whether additional moisture is necessary. This careful mixing method helps produce homemade eggless cookies with tender centers, lightly crisp edges, and a satisfying buttery texture.
- Step 6: Add Chocolate Chips or Other Optional Mix-Ins. If preparing classic vanilla No Egg Cookies, leave the dough plain and continue directly to the chilling stage. For a chocolate chip variation, add the measured semisweet chocolate chips and fold them into the cookie dough using a silicone spatula until evenly distributed, making sure the chocolate pieces reach the center as well as the outer edges of the mixture. For a nutty version, gently incorporate chopped walnuts or pecans, while cinnamon or finely grated orange zest can be mixed into the dough for additional flavor. Avoid adding every optional ingredient at once, because excessive mix-ins may make the dough difficult to shape and affect the cookies' texture. Fold the ingredients only until combined rather than mixing aggressively, which could overwork the flour and make the cookies less tender. The finished dough should remain thick, cohesive, and easy to portion, with any chosen additions distributed evenly throughout.
- Step 7: Chill the Eggless Cookie Dough for Better Texture. Cover the mixing bowl securely with plastic wrap or transfer the prepared cookie dough to a covered, refrigerator-safe container, then refrigerate for approximately 30 minutes before baking. This short chilling period allows the butter to become firmer and gives the flour additional time to absorb moisture, helping control spreading and encouraging cookies with a more consistent shape. Chilling is particularly helpful when preparing soft and chewy cookies without eggs, because the dough relies on the correct balance of butter, sugar, flour, and milk to hold together during baking. If your kitchen is unusually warm or the dough feels very soft, extending the chilling time slightly may help. Avoid leaving the dough uncovered in the refrigerator, as exposed dough can dry out and absorb unwanted odors. When the chilling time is complete, the dough should feel firmer than before but still soft enough to scoop or shape into evenly sized portions.
- Step 8: Preheat the Oven and Prepare the Baking Sheets. Toward the end of the dough's chilling period, preheat your oven to 350°F (175°C) and position two oven racks in the upper and lower thirds of the oven so both baking sheets can be used at the same time. Line two large, light-colored baking sheets with parchment paper to prevent sticking and encourage even baking, avoiding excessive greasing because additional surface fat may increase spreading. Make sure the oven has fully reached the desired temperature before adding the cookies, as placing dough into an insufficiently heated oven can cause the butter to melt too quickly before the dough begins setting. If available, use an oven thermometer to confirm the temperature, since household ovens may heat unevenly. Arrange the baking sheets on a clean work surface and keep a medium cookie scoop nearby for portioning the chilled dough. Proper oven preparation helps the cookies bake evenly and develop lightly golden edges while retaining their soft centers.
- Step 9: Scoop and Shape the No Egg Cookies. Remove the chilled cookie dough from the refrigerator and use a medium cookie scoop or measuring spoon to divide it into approximately 20 equal portions, each weighing roughly 35–36 grams or measuring about 2 level tablespoons of dough. Gently roll each portion between your palms to create a smooth dough ball, then arrange 10 portions on each prepared baking sheet, leaving approximately 2–3 inches (5–7.5 cm) between cookies to allow sufficient room for spreading. Keep the dough balls slightly rounded rather than pressing them completely flat, as their shape helps create tender centers with lightly crisp edges. If preparing chocolate chip cookies, press a few extra chocolate chips into the visible surface of each dough ball for a more attractive bakery-style appearance. Try to make every portion approximately the same size so all the cookies bake at a similar rate. If the dough becomes excessively warm while shaping, place the prepared trays in the refrigerator briefly before baking.
- Step 10: Bake Until the Edges Are Lightly Golden. Place both baking sheets into the fully preheated oven and bake at 350°F (175°C) for approximately 11–14 minutes, swapping the positions of the upper and lower trays and rotating them front to back around the halfway point to encourage even baking. Monitor the cookies closely during the final minutes, as baking times may vary depending on your oven, cookie size, and the type of baking sheets used. The cookies are ready when their edges look set and lightly golden while their centers still appear slightly soft and pale. Avoid waiting until the entire surface becomes deeply golden, because eggless cookies can become dry or overly firm when overbaked. The centers will continue setting as the cookies cool on the hot baking sheets, helping produce the desired contrast between lightly crisp edges and tender interiors. If your oven cannot bake both trays evenly at the same time, bake them in separate batches and allow additional time.
- Step 11: Allow the Cookies to Cool and Finish Setting. Carefully remove the baking sheets from the oven and place them on heat-resistant surfaces, leaving the freshly baked No Egg Cookies undisturbed for approximately 10 minutes so they can finish setting without breaking apart. Immediately after baking, the cookies may appear delicate or slightly underdone in the center, but this is normal when aiming for a tender, chewy texture. The residual heat from the baking sheets will continue cooking the centers gently while the exterior becomes firmer. Avoid transferring the cookies too early because they may crumble or lose their shape before their structure has stabilized. After approximately 10 minutes, use a thin spatula to transfer the cookies carefully to a wire cooling rack, allowing air to circulate around them as they continue cooling. For the softest eating experience, enjoy the cookies once they are warm rather than piping hot, or allow them to cool completely before storing.
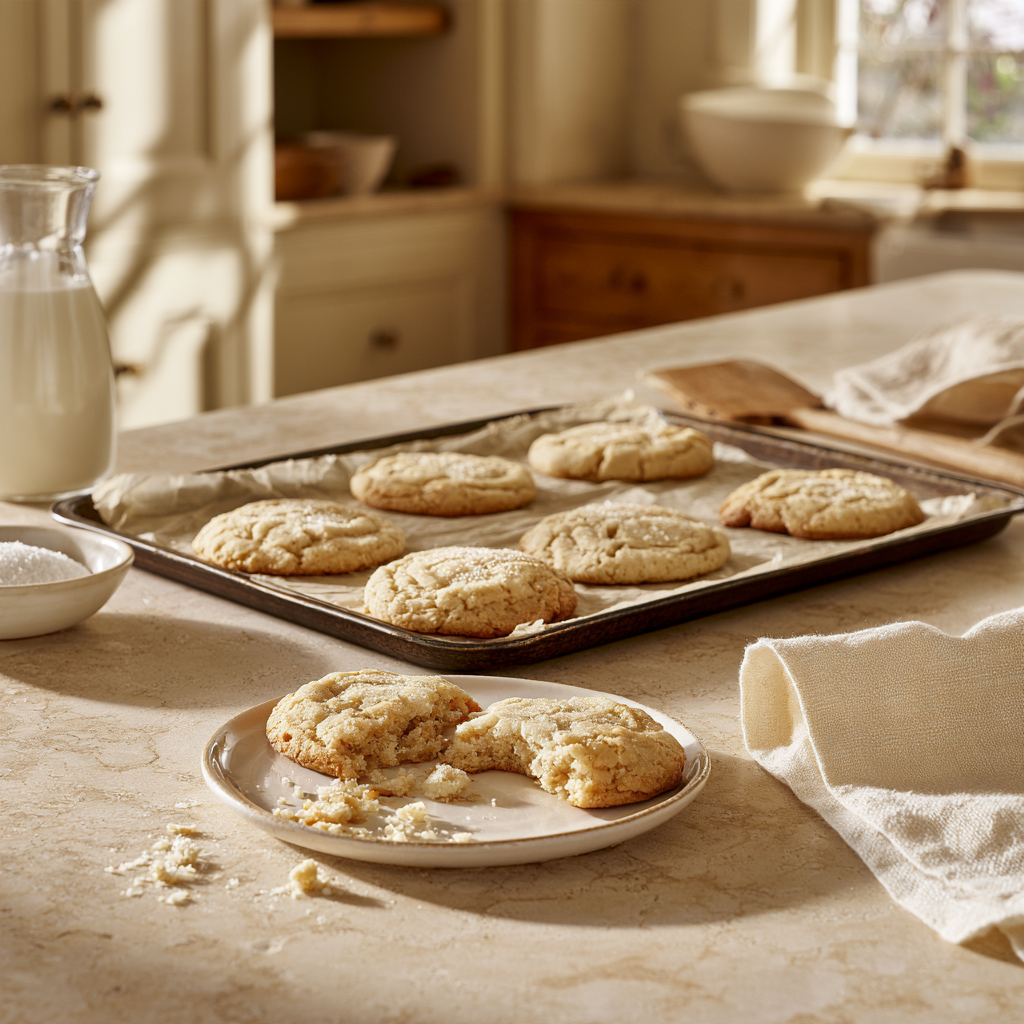
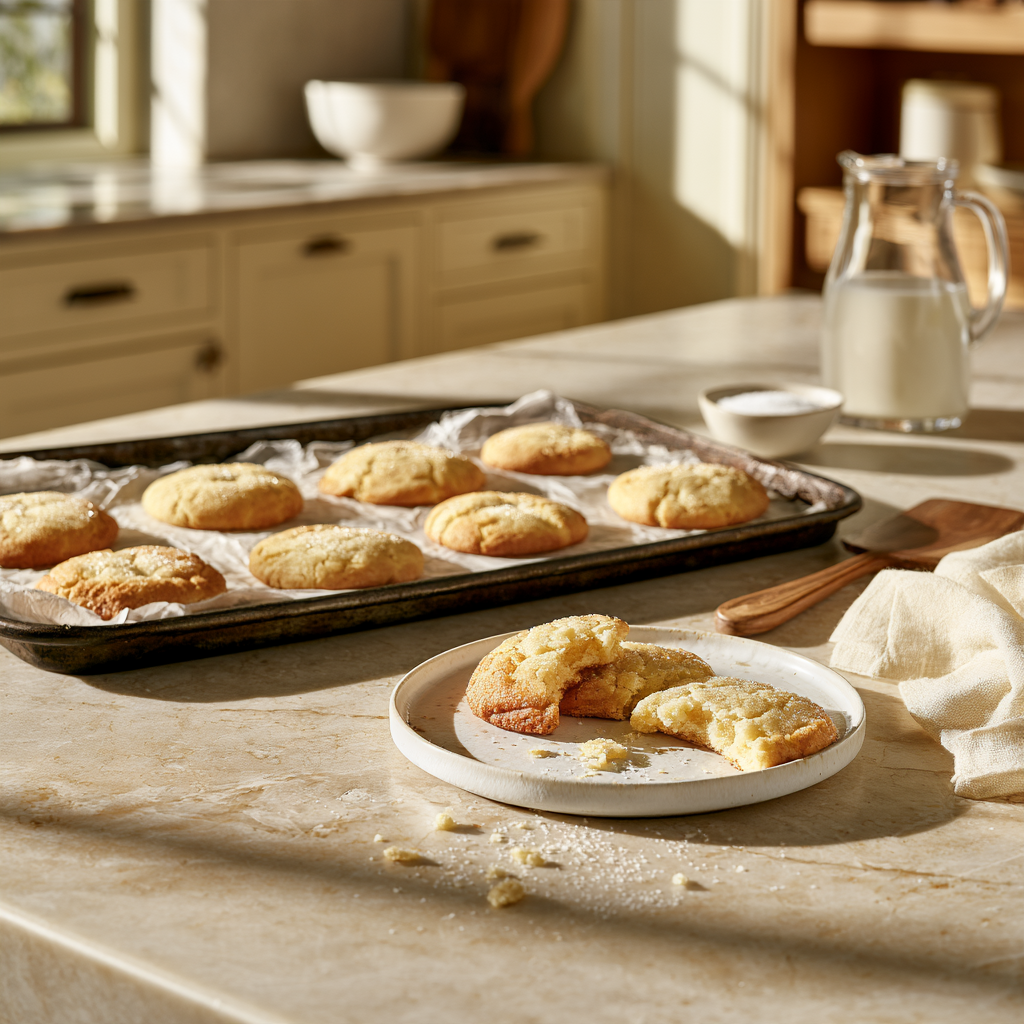
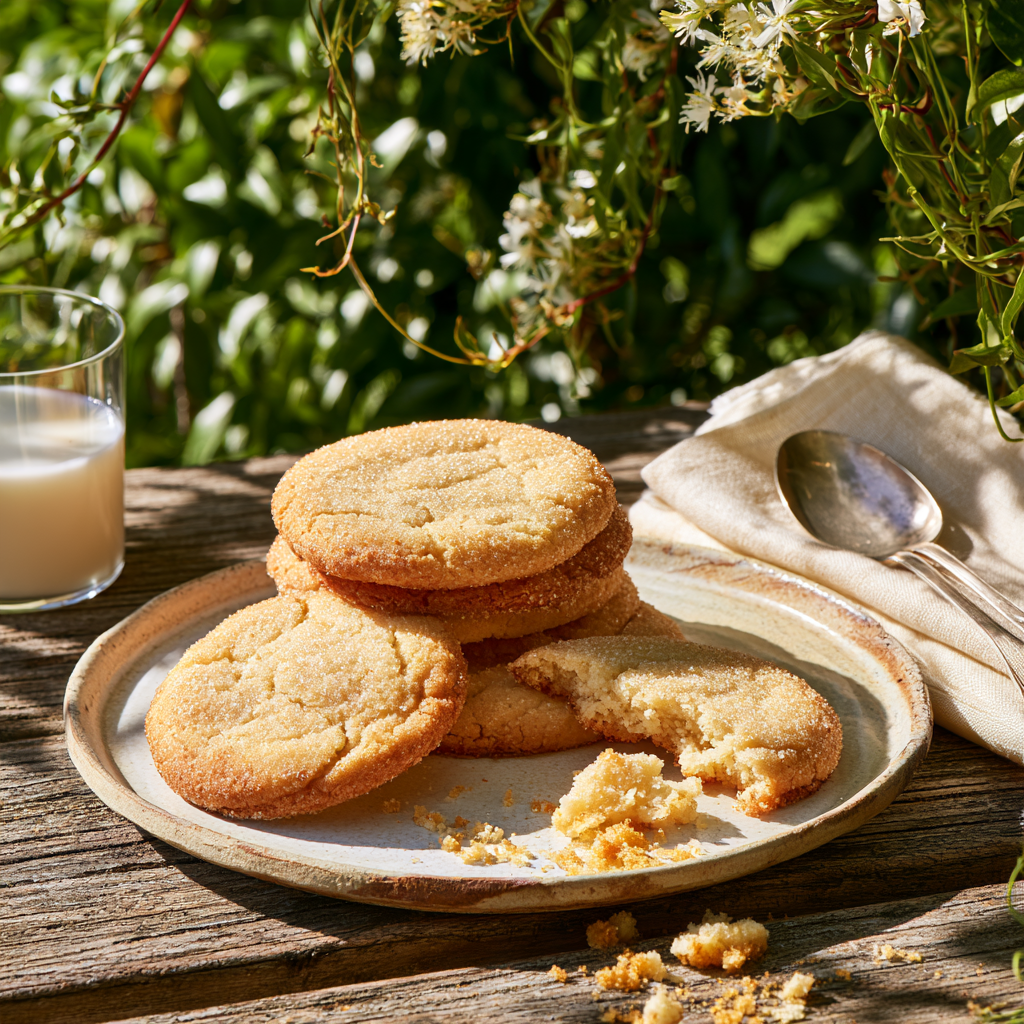
- Step 12: Serve, Customize, and Store Your Homemade No Egg Cookies. Once the cookies have cooled enough to handle, arrange them on a serving plate or dessert platter and enjoy their buttery vanilla flavor, lightly golden edges, and soft, tender centers. Serve these easy eggless cookies with a glass of milk, a warm cup of tea, or your favorite coffee for a comforting homemade treat. For a more indulgent variation, drizzle completely cooled cookies with a little melted chocolate or finish chocolate chip versions with a tiny pinch of flaky sea salt. If preparing the cookies for guests, arrange different flavors together on a decorative platter and clearly identify any varieties containing nuts or other allergens. Allow all cookies to cool completely before transferring them to a clean, airtight container, then store at room temperature for approximately 4–5 days in a cool, dry place. For longer storage, freeze the fully cooled cookies in a freezer-safe container for up to approximately 2–3 months, separating layers with parchment paper to help preserve their shape and texture.
Notes
For the best No Egg Cookies Recipe, use softened unsalted butter rather than melted butter. Properly softened butter should yield slightly when pressed with a finger but should not appear greasy or liquid. This consistency helps create a smooth dough and limits excessive spreading during baking.
Measure all-purpose flour accurately, preferably with a digital kitchen scale. If using measuring cups, spoon the flour gently into the cup and level it with a straight edge rather than packing it down. Too much flour can produce dry, dense, and crumbly cookies.
Use light brown sugar for a pleasantly soft, chewy texture and a subtle caramel-like flavor. The molasses naturally present in brown sugar contributes moisture and helps create the familiar tenderness associated with bakery-style cookies.
Granulated sugar helps produce lightly golden edges and a delicate crispness that contrasts beautifully with the tender centers. Combining brown sugar and granulated sugar creates a balanced cookie texture.
For a stronger caramel-like flavor, replace part of the light brown sugar with dark brown sugar. Dark brown sugar contains more molasses and may produce slightly darker, more intensely flavored cookies.
Use pure vanilla extract for the warm, comforting aroma associated with classic homemade cookies. Vanilla bean paste can also be used in an equivalent amount for a slightly different flavor and attractive vanilla specks.
The milk in this recipe provides moisture and helps bring the dough together without eggs. Use the recommended quantity initially, and avoid adding extra milk unless the dough remains genuinely dry after thorough mixing.
For the most consistent results, use room-temperature milk when mixing it into the creamed butter and sugar. Very cold milk can make the softened butter firm up and cause the mixture to appear uneven.
Cornstarch contributes to a softer, more tender cookie texture. It can help reduce the toughness that sometimes develops when cookie dough is overworked, although proper mixing remains important.
Make sure the baking soda and baking powder are fresh and properly stored. Old or inactive leavening ingredients may affect the way cookies rise, spread, and set during baking.
Do not overmix the dough after adding the flour. Mix only until the ingredients are evenly incorporated, because excessive mixing can encourage gluten development and produce a tougher cookie texture.
If the dough looks slightly separated after adding the milk and vanilla, do not worry. This can happen when liquid is combined with creamed butter. The texture should become more uniform once the dry ingredients are incorporated.
For soft and chewy No Egg Cookies, refrigerate the dough for approximately 30 minutes before baking. Chilling firms the butter and helps limit excessive spreading in the oven.
If your kitchen is particularly warm or the dough feels excessively soft, refrigerate it for a little longer before shaping. Dough that is too warm may spread quickly and produce thinner cookies.
For evenly sized cookies, divide the dough into portions weighing approximately 35–36 grams each. Uniform sizing allows the cookies to bake at a similar rate and creates a more consistent appearance.
Leave approximately 2–3 inches of space between the dough portions on the baking sheets. Proper spacing gives the cookies room to spread without merging together.
Use parchment paper instead of heavily greasing the baking sheets. Excessive grease can encourage spreading and may produce cookies with overly browned bottoms.
Light-colored baking sheets are generally a good choice for cookies because they encourage more even browning. Dark baking sheets may brown the bottoms more quickly, so monitor the baking time carefully.
Bake the cookies in a fully preheated oven at 350°F (175°C). Placing dough into an oven that has not reached the correct temperature may cause excessive spreading before the cookie structure begins setting.
If baking two trays simultaneously, rotate the trays and exchange their rack positions around the halfway point. This helps reduce uneven browning in ovens with noticeable hot spots.
For soft centers, remove the cookies when the edges look set and lightly golden while the centers remain slightly soft. The cookies will continue setting on the hot baking sheets after removal from the oven.
Avoid overbaking eggless cookies. Waiting until the centers appear completely firm in the oven can result in cookies that become dry or crunchy after cooling.
Allow freshly baked cookies to rest on their baking sheets for approximately 10 minutes before transferring them to a wire rack. This resting period helps the delicate centers finish setting and reduces breakage.
For eggless chocolate chip cookies, fold approximately 3/4 cup (130 g) of semisweet chocolate chips into the finished dough before chilling. The chocolate adds rich flavor and pockets of melted sweetness throughout the cookies.
For a beautiful bakery-style chocolate chip variation, reserve a small handful of chocolate chips and press them gently onto the tops of the shaped cookie dough balls before baking.
For nutty eggless cookies, add approximately 1/2 cup of chopped toasted walnuts or pecans. Toasting enhances their aroma and provides a satisfying contrast to the soft cookie centers.
For cinnamon sugar cookies without eggs, mix approximately 1/2 teaspoon of ground cinnamon into the dry ingredients. A light sprinkle of cinnamon sugar on top before baking creates an extra layer of flavor.
For an orange vanilla variation, add approximately 1 teaspoon of finely grated orange zest to the creamed butter-and-sugar mixture. The citrus aroma provides a fresh contrast to the buttery richness of the cookies.
For a subtle sweet-and-salty finish, sprinkle a tiny pinch of flaky sea salt over freshly baked chocolate chip cookies. This can enhance the chocolate flavor and balance the sweetness.
If the cookies spread too much, check whether the butter was melted, the dough was insufficiently chilled, or the flour was undermeasured. Chilling the remaining dough can help improve the shape of subsequent batches.
If the cookies become dry or crumbly, check that the flour was measured accurately and that they were not baked too long. Remove future batches when the edges are just set and the centers remain slightly soft.
If the cookies appear unusually thick or do not spread enough, the dough may contain excessive flour or may have been chilled until very firm. Allow particularly cold dough to soften slightly before baking and avoid adding unnecessary flour.
For a slightly less sweet variation, experiment with reducing the combined sugar quantity by approximately 10%. Sugar affects the flavor, browning, spread, and texture of cookies, so larger reductions should be tested carefully.
For additional whole-grain content, experiment with replacing approximately one-quarter of the all-purpose flour with whole wheat pastry flour. This may introduce a mildly nutty flavor and create a somewhat denser texture.
For a dairy-free variation, use an appropriate plant-based baking butter and unsweetened plant-based milk. Different substitutes contain varying amounts of water and fat, so baking results may differ from the original recipe.
This recipe contains no eggs, but it is not automatically vegan because the standard ingredients include dairy butter and milk. Use suitable plant-based alternatives if preparing a vegan variation.
For anyone with an egg allergy, carefully inspect ingredient labels and prevent cross-contact with eggs through shared utensils, baking equipment, preparation surfaces, or packaged ingredients. A recipe without eggs is not automatically safe if allergen cross-contact occurs.
For a gluten-free variation, use a gluten-free all-purpose flour blend specifically formulated for cookies or a reliable one-to-one baking replacement. Results can vary considerably depending on the flour blend, so test the texture and baking time before serving.
Do not eat ordinary no egg cookie dough raw. Even when eggs are absent, untreated raw flour can contain harmful bacteria. Bake the dough fully according to the recipe instructions before eating.
For soft cookies after storage, allow the baked cookies to cool completely before placing them in an airtight container. Closing the container while the cookies are warm can trap steam and affect the texture.
Storage: Keep fully cooled No Egg Cookies in a clean, airtight container at room temperature for approximately 4–5 days. Store in a cool, dry location away from direct sunlight and excessive heat.
Freezing Baked Cookies: Arrange completely cooled cookies in a freezer-safe airtight container, separating layers with parchment paper. Freeze for up to approximately 2–3 months for best quality, then thaw at room temperature before serving.
Freezing Cookie Dough: Portion the dough into individual balls, freeze them on a parchment-lined tray until firm, then transfer to an airtight freezer-safe bag or container. For best quality, use within approximately 2–3 months.
Baking From Frozen: Place frozen cookie dough balls directly onto a lined baking sheet and bake in a preheated oven at 350°F (175°C). Allow approximately 1–3 additional minutes as needed, monitoring the edges and centers for doneness.
For a small batch, halve all ingredient quantities and bake approximately 10 medium cookies. Baking time should remain similar when the individual dough portions are the same size.
For larger gatherings, double the recipe to prepare approximately 40 cookies. Bake in several batches if necessary, keeping unbaked dough refrigerated while the first trays are in the oven.
Serving Suggestion: Enjoy these buttery No Egg Cookies with a glass of milk, a warm cup of coffee, or your favorite tea. They also make delicious additions to holiday cookie platters, dessert tables, and homemade gift boxes.
OoohDelish Baking Secret: The secret to soft and chewy No Egg Cookies is accurate flour measurement, properly softened butter, a balanced combination of brown and white sugar, a short chilling period, and careful baking. Remove the cookies when the edges are lightly golden and the centers remain slightly soft, then allow them to finish setting on the baking sheets for perfectly tender homemade cookies.