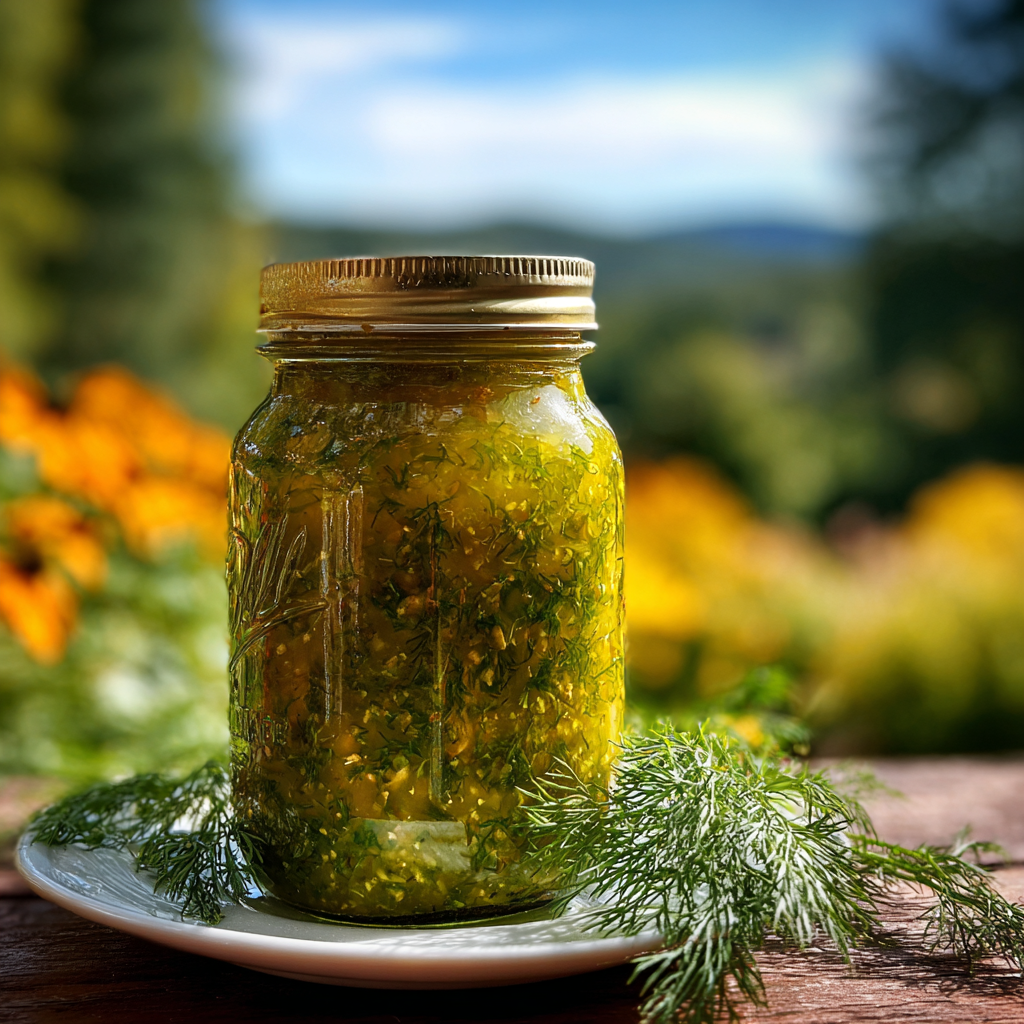
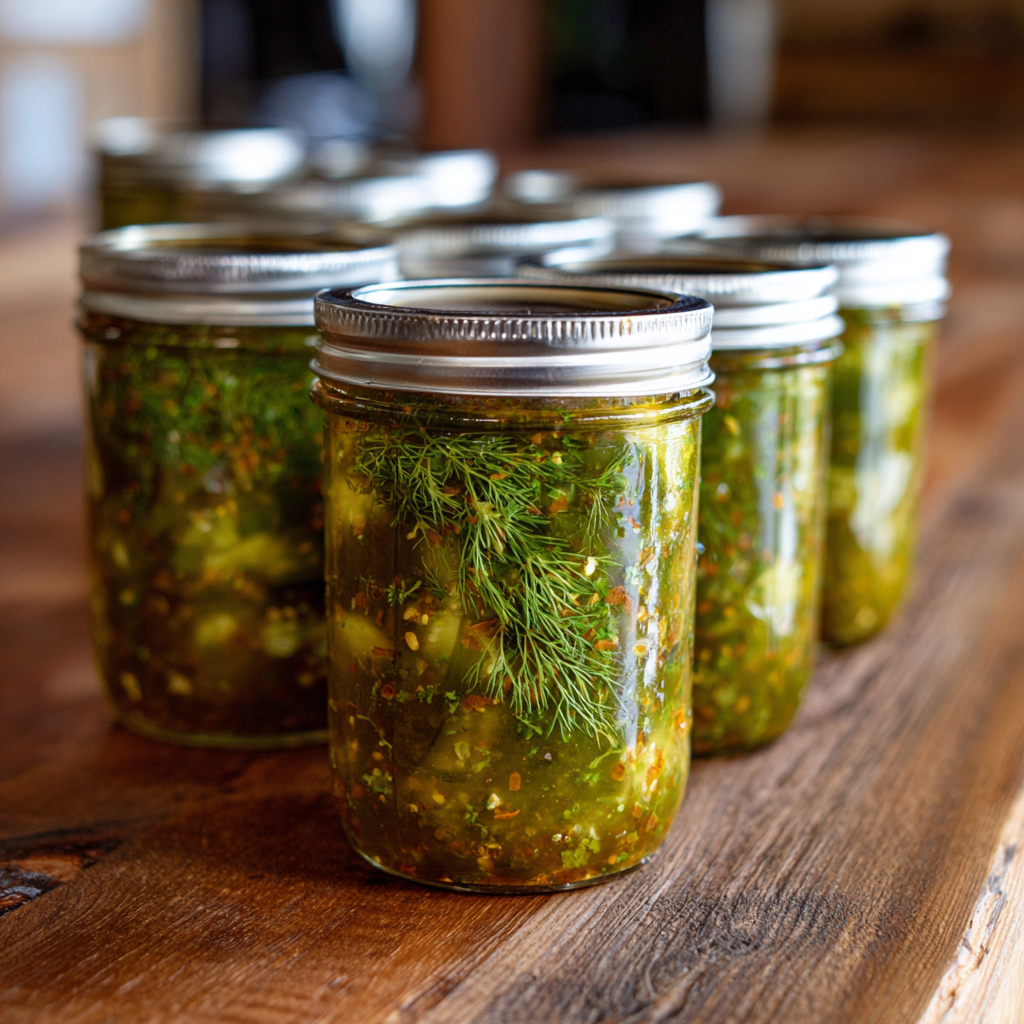
I didn’t think a mix of cucumbers, dill and vinegar could bring so much flavor when I first made this dill relish canning recipe. But once those garden-fresh, finely sliced cucumbers were simmered briefly in a tangy brine, with fresh dill and garlic, the scent alone told me it was going to be something special. That balance of crisp texture, bright acidity and herbaceous dill makes a relish that quickly elevates the rest of summer’s foods: burgers, hot dogs, sandwiches, and even potato salads.
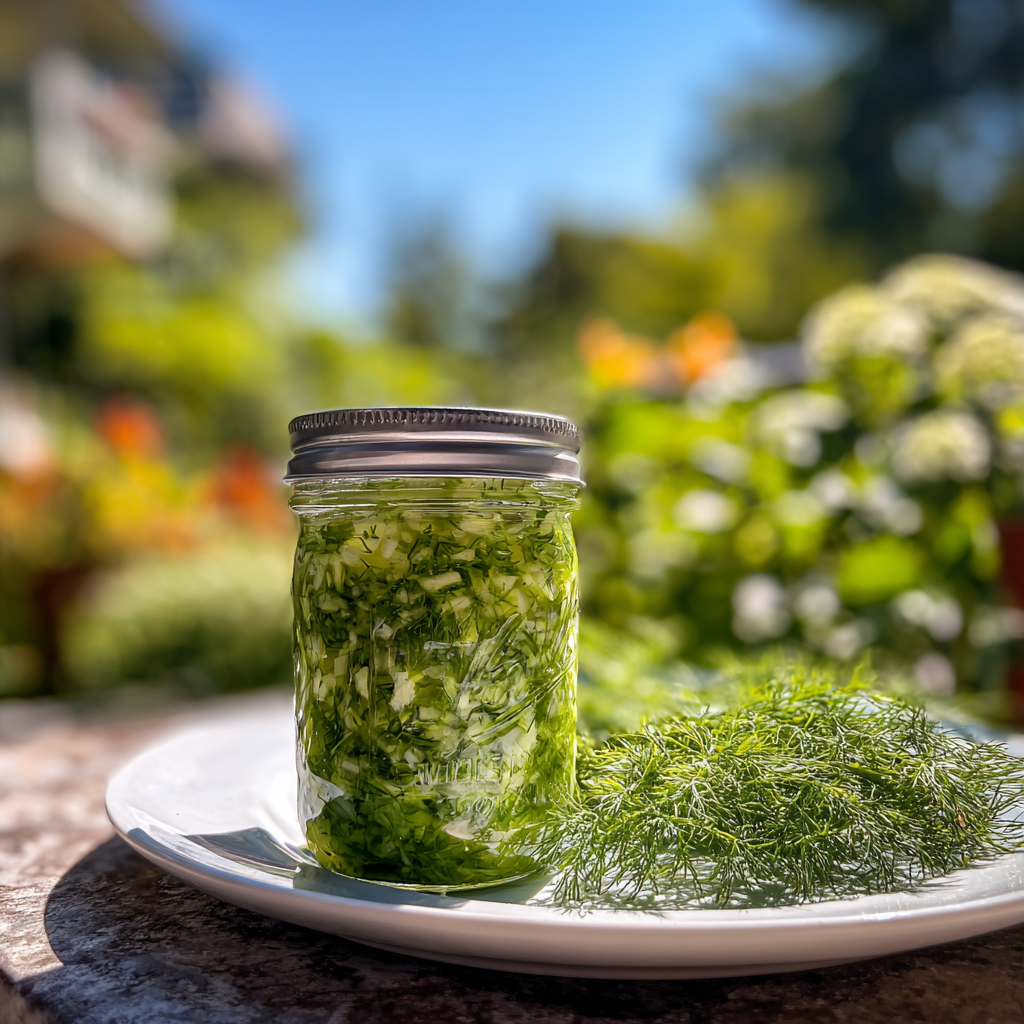
This dill relish canning recipe is the perfect flavor to preserve an overabundance of fresh cucumbers during peak season. Rather than let your garden cucumbers go to waste, you can turn them into shelf-stable jars full of crisp, bold, classic flavor. The vinegar brine preserves everything crisp and safe in the long term, while the dill contributes that unmistakable fresh-savory note that makes a relish great. With this recipe, even more of your pantry staples are just a few simple steps away, like the Pickled Jalapenos Canning Recipe, which can also taste great.
What truly makes this dill relish canning recipe versatile is how easily you can use it to complement both savory dishes and fresh foods. It brightens grilled meats, lends depth to sandwiches and even works supremely well with bold condiments such as Green Chutney Recipe when you’re looking for layered herb-forward pizazz. Whether you are planning summer cookouts or stocking your pantry for the year, this homemade dill relish will give you a sharp texture and a nice balance of acidity, combined with that old-fashioned taste in every spoonful.
Origins of Dill Relish Canning Recipe
Dill-relish canning recipes are simply the descendants of those old-world European pickling techniques born long before refrigeration made preserved cucumbers a matter of convenience. In Eastern and Central Europe, particularly in places like Germany and Poland, dill and cucumbers were often put together to form tangy, herb-forward pickles that could last through the winter months. Dill emerged as the defining herb as its fresh, slightly grassy aroma plays a great foil to acidity.
Pickling cucumbers caught on quickly when European immigrants brought their preservation techniques to North America in the 18th and 19th centuries. Finely chopped pickled cucumbers eventually evolved into the condiment we know today as relish. The dill relish canning recipe evolved in part as a means to preserve surplus cucumbers from summer harvests when water-bath canning makes them shelf-stable. Whereas sweet relish is on the sugary side, dill relish retained its savory essence, vinegar, salt, garlic and fresh dill in the forefront.
By the turn of the 20th century, dill relish had landed a prominent spot in many American homes, especially as a condiment served with grilled items such as hot dogs and burgers. Home canning guides established safe vinegar ratios and processing times, so families could safely put jars away for long-term use. If anything, the dill relish canning recipe became a representation of seasonal preservation and kitchen practicality, like so many other preserved staples (Pickled Jalapenos Canning Recipe).
The dill relish canning recipe today melds Old World technique with modern convenience. Rooted in European preservation techniques, though, it’s become a quintessential American condiment, no-fuss, tangy and closely tied to the cadence of summer harvests and homemade pantry staples.
Health Benefits of Dill Relish Canning Recipe
The dill relish canning recipe might be recognized as a standard condiment, but it does contain some health advantages when indulged in moderation. This relish, made with cucumbers, vinegar, dill and basic seasonings, is naturally low in calories yet packs bright, bold flavor. That means you can bolster meals without the need for heavy sauces or high-fat toppings.
Rich in water content, cucumbers promote hydration and digestion. They also offer small amounts of vitamin K and antioxidants that protect cells from oxidative stress. Fresh dill is the key herb in a dill relish canning recipe, and it houses plant compounds that may support digestion and have anti-inflammatory properties. In fact, this relish adds more than just bang when combined with vinegar, which may help keep blood sugar balanced in small doses.
A fat-free, light condiment, the dill relish canning recipe is a clever flavor enhancer for burgers and sandwiches, as well as my homemade tuna salad. Like other preserved favorites, including a Pickled Jalapenos Canning Recipe, it packs plenty of punch with extremely few calories, enabling you to enhance meals without turbocharging their flavor profile.
Nutritional Benefits Table (Approximate Per 1 Tablespoon)
| Nutrient | Approx. Amount | Health Benefit |
|---|---|---|
| Calories | 5–10 kcal | Very low-calorie condiment option |
| Carbohydrates | 1–2 g | Minimal impact on overall intake |
| Fat | 0 g | Naturally fat-free |
| Vitamin K | 3–5% DV | Supports bone health and blood clotting |
| Antioxidants | Naturally present | Help protect cells from oxidative stress |
| Water Content | High | Supports hydration |
| Sodium* | 100–150 mg | Needed in moderation; depends on recipe |
*Sodium varies based on salt content used in the brine.
Tips and Tricks for the Perfect Dill Relish Canning Recipe
- Tip 1: Use Fresh, Firm Cucumbers: Choose small, crisp pickling cucumbers rather than large waxy ones to keep your dill relish canning recipe crunchy and flavorful.
- Tip 2: Remove Excess Moisture: After finely chopping the cucumbers, lightly salt them and let them sit for 1–2 hours, then drain well; this prevents watery relish and improves texture.
- Tip 3: Chop Evenly for Better Consistency: Uniformly fine chopping ensures balanced flavor in every spoonful and helps the brine penetrate evenly.
- Tip 4: Use 5% Acidity Vinegar Only: Always use vinegar with at least 5% acidity to maintain safe preservation standards in your dill relish canning recipe.
- Tip 5: Don’t Skip the Fresh Dill: Fresh dill provides the brightest flavor; dried dill can be used, but fresh gives a more vibrant, authentic result.
- Tip 6: Simmer Gently, Don’t Overcook – Brief simmering allows flavors to blend without softening the cucumbers too much; overcooking leads to mushy relish.
- Tip 7: Leave Proper Headspace: Always leave about ½ inch headspace in jars before sealing to allow safe expansion during water-bath processing.
- Tip 8: Remove Air Bubbles Before Sealing: Slide a non-metallic utensil along the inside of the jar to release trapped air and ensure proper sealing.
- Tip 9: Adjust Sweetness Carefully: If you prefer a slightly sweeter balance, increase sugar gradually but never reduce the vinegar ratio for safety.
- Tip 10: Let It Rest Before Serving: Allow the jars to sit for at least 1–2 weeks before opening so the dill and garlic fully infuse the relish.
Following these tips ensures your dill relish canning recipe turns out crisp, tangy, and perfectly preserved, ready to elevate burgers, hot dogs, and summer cookouts.
Dill Relish Canning Recipe From OoohDelish!
This dill relish canning recipe turns fresh cucumbers and dill into a crisp, tangy pantry staple.
Finely chopped cucumbers are simmered in a bright vinegar brine for bold flavor.
It’s perfectly balanced; savory, herbaceous, and refreshingly sharp.
Ideal for burgers, hot dogs, sandwiches, and summer salads.
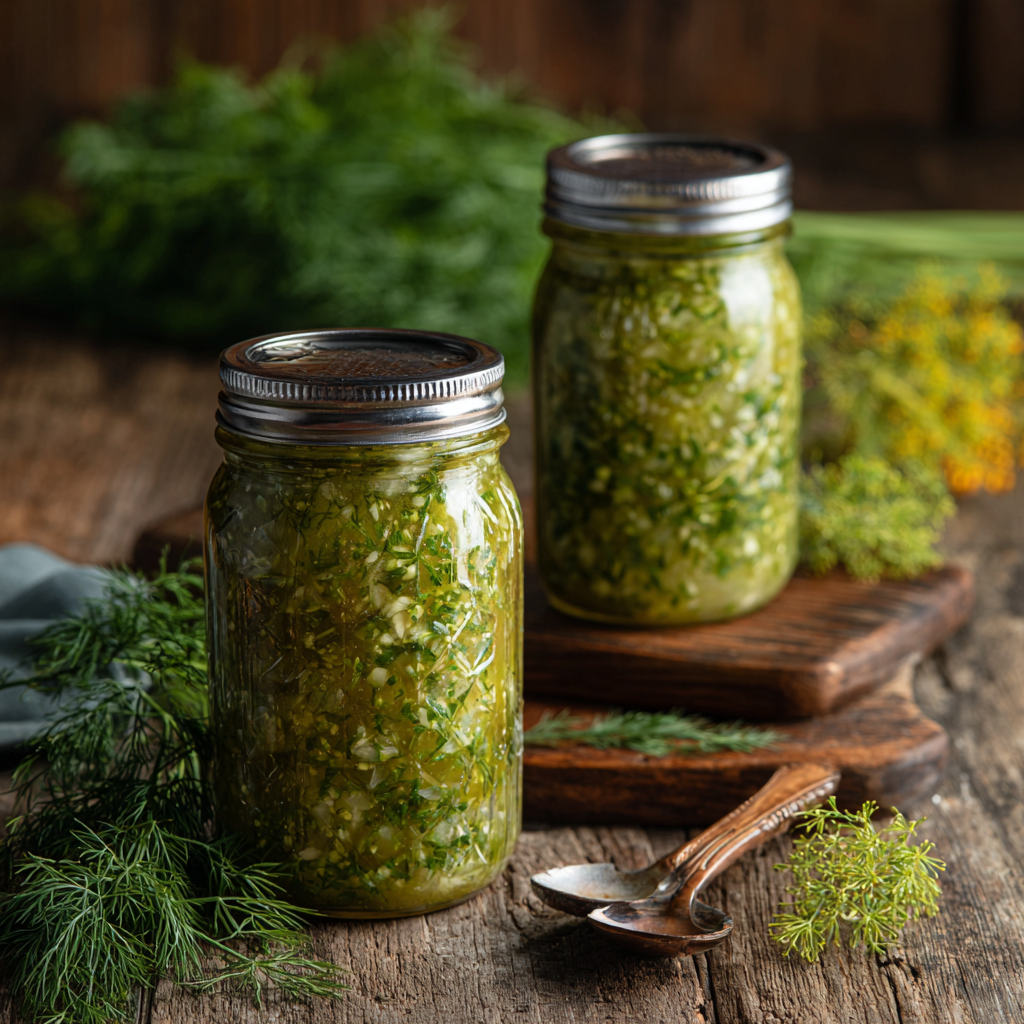
A simple homemade relish that keeps your pantry stocked all year long.

Dill Relish Canning Recipe
Ingredients
Equipment
Method
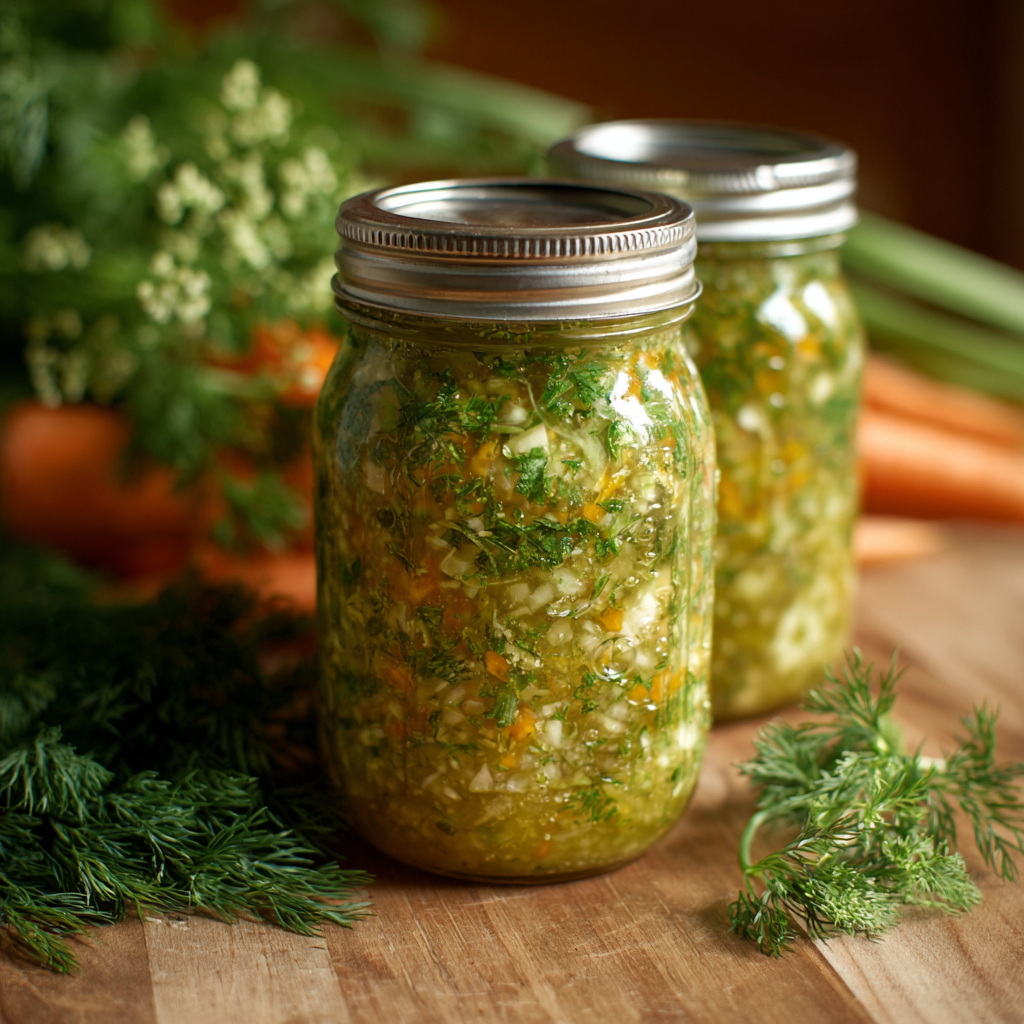
- Place finely chopped cucumbers and onion in a large bowl. Sprinkle with pickling salt, toss well, and let sit for 1–2 hours.
- Drain mixture thoroughly in a colander and rinse lightly under cold water. Drain again to remove excess moisture.
- In a large saucepan, combine vinegar, water, sugar, garlic, mustard seeds, and black pepper. Bring to a boil.
- Add drained cucumber mixture and fresh dill to the saucepan. Simmer gently for 5–7 minutes.
- Ladle hot relish into sterilized jars, leaving ½ inch headspace.
- Remove air bubbles, wipe rims clean, and apply lids and bands fingertip tight.
- Process jars in a boiling water bath canner for 10 minutes (adjust for altitude if needed).
- Remove jars and allow to cool undisturbed for 12–24 hours. Check seals before storing.
- Store in a cool, dark place for up to 1 year. For best flavor, wait 1–2 weeks before opening.
Notes
- Always use vinegar with 5% acidity for safe canning.
- Do not reduce vinegar quantity in tested canning recipes.
- For extra dill flavor, add a small dill sprig to each jar before sealing.
- If you enjoy bold preserved flavors, pair this with Pickled Jalapenos Canning Recipe for a spicy contrast.
- Once opened, refrigerate and use within 1 month.
Share Your Twist on This Dill Relish Canning Recipe! 🥒
Did you make your dill relish canning recipe extra garlicky with whole crushed cloves simmered right in the brine?
Did you add finely diced red bell pepper for a pop of color and mild sweetness?
Maybe you boosted the herb flavor with extra fresh dill or a touch of dill seed for deeper aroma.
Or kept it beautifully classic crisp cucumbers, bright vinegar, and that clean dill finish.
However you made it your own, we’d love to see it!
📸 Tag your jars or cookout creations with #OoohDelishTwist on Instagram or Facebook you might be featured!
FAQs: Dill Relish Canning Recipe
What type of cucumbers are best for dill relish canning recipe?
Pickling cucumbers are best because they stay crisp and contain fewer seeds than slicing cucumbers.
Do I need to use pickling salt?
Yes. Pickling salt is recommended because it contains no additives that can cloud the brine.
Can I reduce the vinegar in this recipe?
No. A dill relish canning recipe requires the correct vinegar ratio for safe water-bath processing.
How long does dill relish last?
Properly sealed jars can last up to 1 year in a cool, dark place. Once opened, refrigerate and use within 1 month.
Why is my relish watery?
If cucumbers are not properly salted and drained before cooking, excess moisture can dilute the brine and affect texture.
Can I make dill relish without sugar?
You may reduce sugar slightly, but do not change the vinegar amount, as acidity is essential for safe preservation.
How long should I wait before eating?
For best flavor, allow the jars to rest for at least 1 to 2 weeks before opening so the dill fully infuses the relish.
Leave a Reply